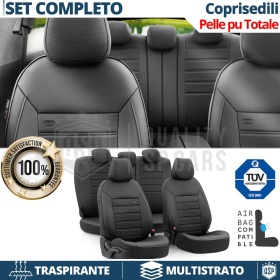
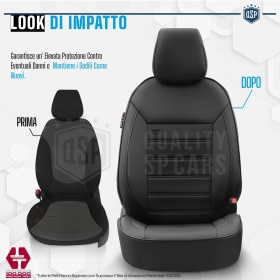
SEAT COVERS for Porsche Cayenne in Pu Leather...
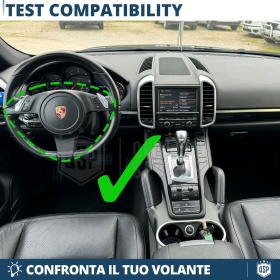
COMPATIBILITY:
ATTENTION to the Version, NO SEATING with: Armrest and Integrated Belts, Non-Removable Headrest, Ergonomic Sporting
- Suitable for Porsche Cayenne
(Eligible for Reclining Seats, Seats with Integrated AIRBAG, Rear seats with central armrest, Folding or Partially Folding Rear Seats)
ASSEMBLY:
" For a correct installation it is strongly recommended to always contact an expert in the sector "
" Some Stages may be slightly different, from Car to Car "
1) INSTALLATION OF FRONT SEATS
- Tilt the Backrest
- Place the appropriate cover on the Seat, aligning it as best as possible
- Bring the Elastics behind the Seat, passing them between the Back and the Seat
- Tighten and Fix the Side Elastics of the Seat between the Side Plastics of the Seat with the Help of a Flat Tip Screwdriver (or a similar tool)
- Make sure the Cover is Aligned Correctly with the Seat
- Tighten the elastics previously brought behind the seat and fix them under the seat, using the special metal hooks supplied
- Tension The Front Elastic Bands Of The Seat And Fix Them Under The Seat, Using The Special Metal Hooks Provided
- Repeat the operation on the Second Seat
2) INSTALLATION OF THE FRONT BACKREST
- ATTENTION: If the car has airbags, Make sure that the "Airbag" label of the seat and the seat cover are on the same side (to understand the exact cover of the driver and passenger seat)
- Remove the headrests
- Insert the Seat Cover on the Backrest and align it in the best way
- Bring the elastics of the front part behind the seat, passing them between the backrest and the seat
- Stretch the elastic bands from the back of the seat by pulling the end of the seat cover to which they are anchored, to give it a perfect adherence
- Fix the Elastics under the Seat, using the Special Metal Hooks Provided
- Make an X-shaped cut with scissors in the holes of the headrests and bring out the Plastic Arrangements, pushing the cut part under the Arrangements themselves
- Repeat the operation on the Second Backrest
3) HEADREST INSTALLATION
- Reinstall the Headrests in the Seat
- Slide the Hooded Cover over the Headrest and Line it up
4) REAR SEAT INSTALLATION
- Remove the Rear Seat Cushion (most cars are set up to Release the Rear Seat)
- Insert the seat cover on the seat and align it in the best way
- Tension and Fix the Elastics in Opposite Way to each other under the Seat, using the Special Metal Hooks Provided, trying to keep them as parallel as possible
- For a perfect look it is necessary to always align each end of the seat cover with the seat itself (e.g. corner to corner, top edge to top edge)
5) REAR BACKREST INSTALLATION
- Remove the headrests
- Insert the seat cover on the backrest, under the seat belts, and align it in the best way
- Lower the Backrest
- Bring the elastics of the front part behind the seat, passing them between the backrest and the seat
- Stretch and Fix the Elastics in Opposite Way Behind the Back, using the Special Metal Hooks Provided, trying to keep them as parallel as possible
- If the car is equipped with folding rear seats, lower the zip at the joint and partially fold the backrest
- By lowering the backrest, you will have access to the unfinished side: add the side covers by closing the zip on both unfinished sides
(Attention: The two Side Covers Are Attached to each other by an Elastic; if necessary, detach them with a cut)
- Tighten and Fix the Elastics of the Side Covers Behind the Back, using the Special Metal Hooks Provided
- For a perfect look it is necessary to always align each end of the seat cover with the seat itself (e.g. corner to corner, top edge to top edge)
(Although Simple and Intuitive, ASSEMBLY BY AN EXPERT IN THE SECTOR IS ALWAYS RECOMMENDED, TO AVOID POSSIBLE DAMAGE TO THINGS OR PEOPLE. WE ALWAYS RECOMMEND NOT DO IT YOURSELF)