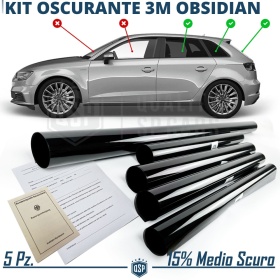
- -15%
- New
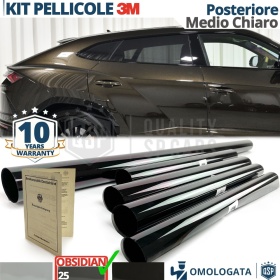
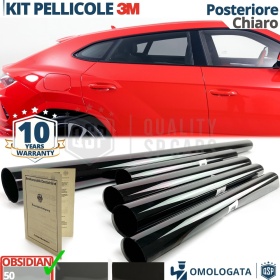
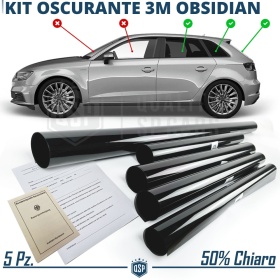
3M REAR Windows Tinting Film for Audi A6 Approved | OBSIDIAN...
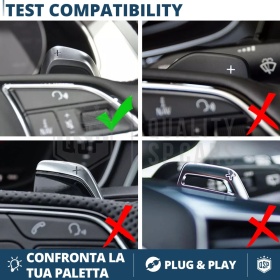
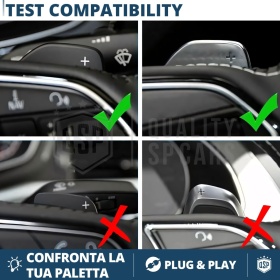
COMPATIBILITY:
ATTENTION: in Italy application is only permitted on rear windows and rear windshields. We invite you to check the individual regulations of each state.
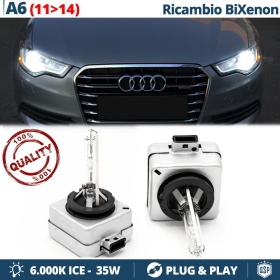
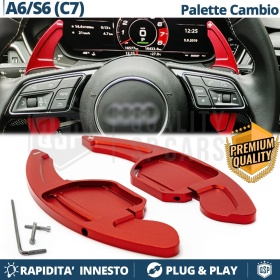
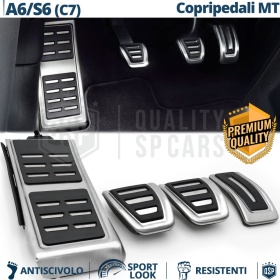
- For Audi A6 (All Versions and Years)
- Pre-cut, non-shaped pieces, 10% Larger in size, capable of covering all rear windows
APPLICATION:
- In addition to the film for the application you will need: Spatula, Cutter, Water and Fabric Softener, Nebulizer, Hairdryer or Heat Gun.
- The film must always be applied internally to the glass, however the external part is also necessary, which is fundamental for shaping and modeling the film before the final application on the internal part.
- Cut the film with a good margin compared to the size of the glass to be darkened (3-5cm).
- Thoroughly clean the glass internally and externally 2-3 times.
- Spray the mixture of water and softener mixed in a ratio of 1:10 on the outside of the glass.
- Apply the Film Externally to the Glass, Keeping the adhesive part of the Film facing towards you.
- Imprint the Film on the External Glass with the Spatula Forming a Large H.
- Shape the Film Using a Hairdryer and Spatula. The objective is to remove all the bubbles by making the Film adhere perfectly to the External Glass.
(the better it is processed now the easier it will be to move and apply the film internally later)
- Once the film is completely adhered without bubbles, shape it with the cutter by cutting off the excess, remaining within the margin of 2-3mm from the edge of the glass.
- Still leaving the film on the outside of the glass, make sure again that the inside of the glass is clean and proceed to spray the solution of water and softener inside the glass.
- Remove the protective film on the adhesive area of the film. Help yourself to remove it by spraying more water and fabric softener.
- Move the film to the inside of the glass, this time with the adhesive part facing the glass itself.
- Shape and flatten the film with the spatula, removing bubbles and liquid. (if the hairdryer has been used previously it will not be needed now)
- The glasses are operational after 24 hours
- Final adhesion is achieved after approximately 15 - 20 days at 18° C and in dry climate conditions.
MAINTENANCE AND CLEANING
Use high-quality cleaners specifically for glass surfaces. The cleaning system (cloth, sponge, etc.) must be wet and not abrasive with a pH value between 6 and 8 (neither too acidic nor too alkaline).
Although simple and intuitive FOR OPTIMAL ASSEMBLY, WE ALWAYS RECOMMEND THE INSTALLATION OF OUR ITEMS BY AN EXPERT
As we will not assume responsibility if the item is assembled and subsequently removed.
We trust in your common sense.
ATTENTION: in Italy application is only permitted on rear windows and rear windshields. We invite you to check the individual regulations of each state.
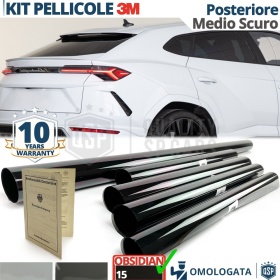
- For Audi A6 (All Versions and Years)
- Pre-cut, non-shaped pieces, 10% Larger in size, capable of covering all rear windows
APPLICATION:
- In addition to the film for the application you will need: Spatula, Cutter, Water and Fabric Softener, Nebulizer, Hairdryer or Heat Gun.
- The film must always be applied internally to the glass, however the external part is also necessary, which is fundamental for shaping and modeling the film before the final application on the internal part.
- Cut the film with a good margin compared to the size of the glass to be darkened (3-5cm).
- Thoroughly clean the glass internally and externally 2-3 times.
- Spray the mixture of water and softener mixed in a ratio of 1:10 on the outside of the glass.
- Apply the Film Externally to the Glass, Keeping the adhesive part of the Film facing towards you.
- Imprint the Film on the External Glass with the Spatula Forming a Large H.
- Shape the Film Using a Hairdryer and Spatula. The objective is to remove all the bubbles by making the Film adhere perfectly to the External Glass.
(the better it is processed now the easier it will be to move and apply the film internally later)
- Once the film is completely adhered without bubbles, shape it with the cutter by cutting off the excess, remaining within the margin of 2-3mm from the edge of the glass.
- Still leaving the film on the outside of the glass, make sure again that the inside of the glass is clean and proceed to spray the solution of water and softener inside the glass.
- Remove the protective film on the adhesive area of the film. Help yourself to remove it by spraying more water and fabric softener.
- Move the film to the inside of the glass, this time with the adhesive part facing the glass itself.
- Shape and flatten the film with the spatula, removing bubbles and liquid. (if the hairdryer has been used previously it will not be needed now)
- The glasses are operational after 24 hours
- Final adhesion is achieved after approximately 15 - 20 days at 18° C and in dry climate conditions.
MAINTENANCE AND CLEANING
Use high-quality cleaners specifically for glass surfaces. The cleaning system (cloth, sponge, etc.) must be wet and not abrasive with a pH value between 6 and 8 (neither too acidic nor too alkaline).
Although simple and intuitive FOR OPTIMAL ASSEMBLY, WE ALWAYS RECOMMEND THE INSTALLATION OF OUR ITEMS BY AN EXPERT
As we will not assume responsibility if the item is assembled and subsequently removed.
We trust in your common sense.
€89.20
Regular Price
€104.94